
When working on shared projects in Microsoft Visual Studio, Visual Studio will sometimes fail to locate AGI packages when a project is sent to a new user:
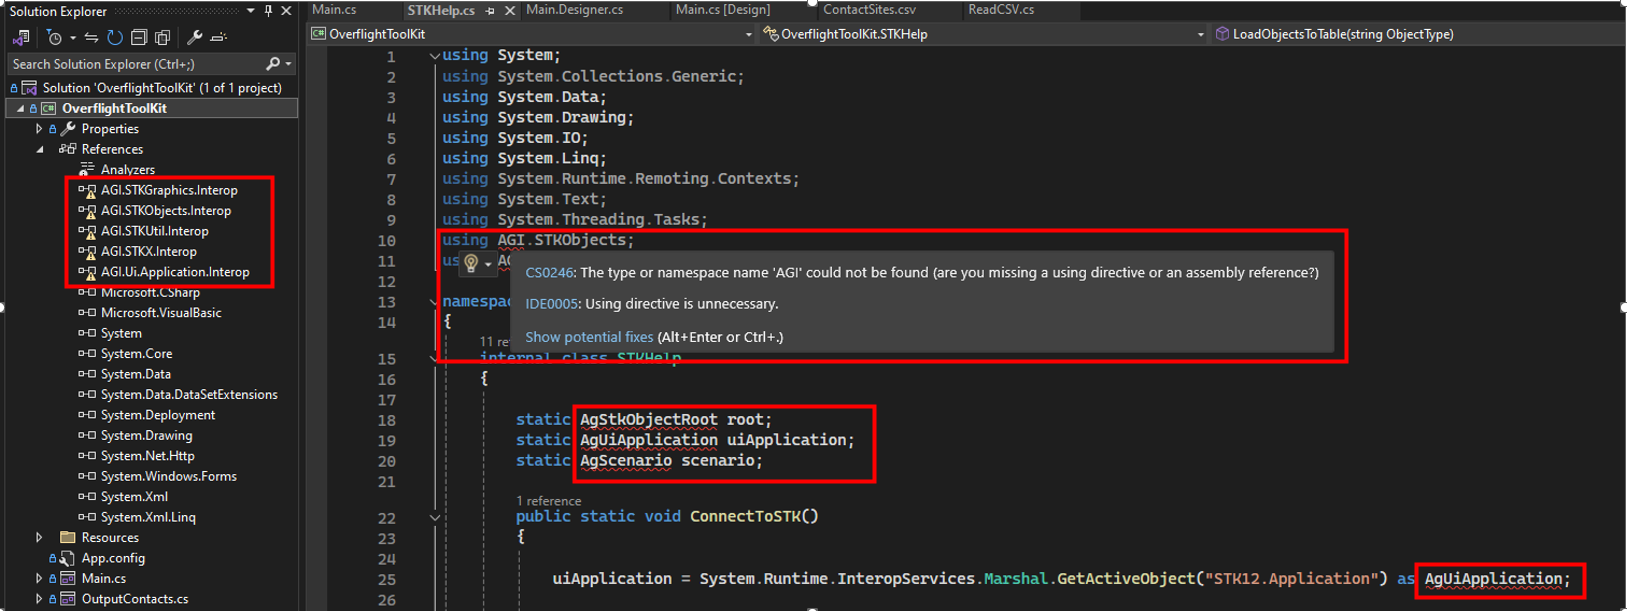
You can confirm this is what’s causing the issue by checking the References in the Solution Explorer. You will see that all the AGI references have a yellow error message.
The missing references will cause the program to fail as soon as it tries to use any of the AGI classes/methods:

Fixing this issue is quite easy. You just need to delete the AGI references that are giving errors and re-add them, this time pointing Visual Studio to the correct location of the references. You can do this by performing the following steps:
1. Delete Missing references:
In the Solution Explorer, open the References section, and find all the AGI references with the yellow error signs. Take a screenshot of the references the project uses, then delete the references:
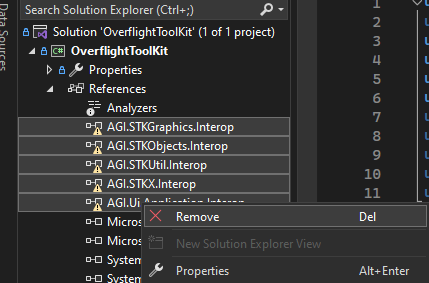
Remember to screenshot the references you’re removing, as you will need to select the specific packages your project needs when re-adding the references!
2. Clean Solution:
Now that you have deleted the references that are failing from the Solution Explorer, go to Build -> Clean Solution to fully remove the failed references from your solution.

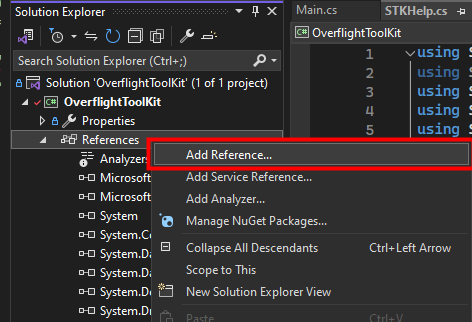
3. Re-add references:
Now that you’ve cleaned your solution, you can add the failed references back to the solution, this time pointing to the specific .dlls their correct path. In the solution explorer, right click the References tab and select Add Reference.
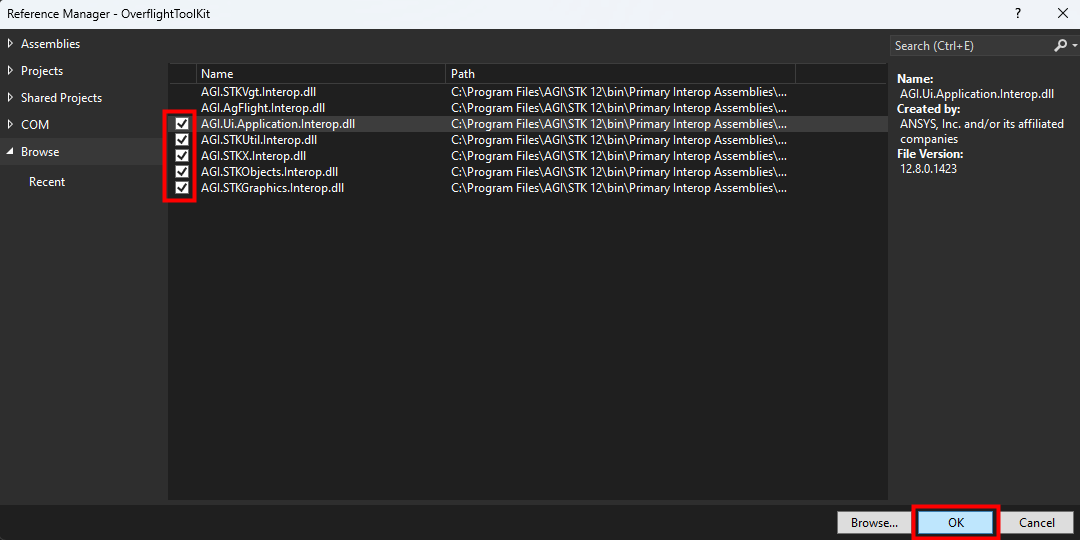
This will open the reference manager. If you do not see the relevant files in the reference manager, then you will need to navigate to your Primary Interop Assemblies folder and add them. Select Browse…,navigate to the following folder:
(C:\Program Files\AGI\STK 12\bin\Primary Interop Assemblies)
and add the necessary .dlls you took a screenshot of in step 1.
Once the relevant .dlls are visible in the Reference Manager, select the necessary files and select OK.
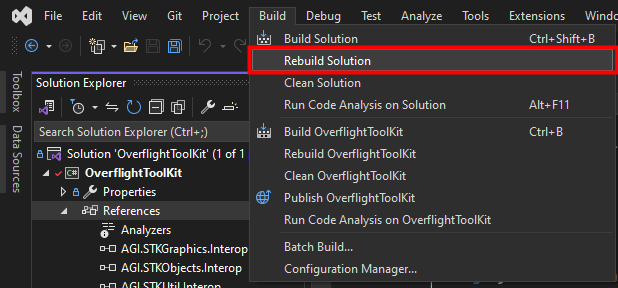
4. Rebuild Solution and run!
You should now see the references In your Solution Explorer, this time without any yellow error icons! From here, just go to Build -> Rebuild Solution and your program should now run properly!
If you have any further questions or need assistance, we are here to help! Our dedicated Tec-Support team is ready to provide prompt and personalized assistance tailored to your needs. Please don't hesitate to reach out by submitting a ticket by going to https://lsas-tec.freshdesk.com/support/tickets/new. We look forward to assisting you and ensuring a positive experience.
Thanks,
LSAS Tec-Support Team
Was this article helpful?
That’s Great!
Thank you for your feedback
Sorry! We couldn't be helpful
Thank you for your feedback
Feedback sent
We appreciate your effort and will try to fix the article